Kids Say: Ice cream…I scream?
On Sunday, at breakfast –
DD: Am I going to school today?
DH: No, today you’re not going to school because today is Sunday. Sunday…
DD: Ice cream?
DS: *jumping in eagerly to the conversation* I cry!
I collapse on the floor laughing.
*Sunday ice cream is a phrase from Eric Carle’s book, “Today is Monday”. Click here for more information on the book.

Art with Daddy: Painted tissue collage
After our very successful tissue paper painting with s for seahorse, DH thought of doing another Eric Carle inspired piece from the book “A House for Hermit Crab”.

First, the four of us painted the tissue paper together. Click here to get the steps for making painted tissue paper.
Then we cut out the individual characters in the story (we followed the order pretty closely, but you could always make up your own too)…
And pasted on accordingly.

Note to parents:
At the risk of stating the obvious…this isn’t really a suitable craft for an active 23 month old boy.
I made two sets anyway in case DS wanted to be involved, but it ended up being a situation of mommy and daughter sitting at the table trying to put the craft together, and son squeezing in between us, picking a random piece off the table and running gleeful circles round the room while daddy was trying to get his chortling son to return the pieces to the girls to finish the craft.
Way comical!
Alphabet Wall: Making…s for seahorse
Continuing on the Genesis creation theme…it was a toss up between s for snake and s for seahorse.
We recently borrowed Mister Seahorse by Eric Carle from the library, and I spent a long time admiring the pictures.
Eric Carle is truly a master illustrator and storyteller. Click on this link to read more about how he creates his tissue paper collages.

So…I started thinking, now wouldn’t it be fun to let the kids paint their own tissue paper seahorse…
That being said, I am no master illustrator and as you now know from my previous post, my little craft collaborators (yes, we’ve started including our 20-month-old, DS, for selected alphabet craft!) allow me five, ten minutes maximum attention span before wanting to move onto something else. 🙂
It is an entirely different method, but hey, my three-bullet-point sales pitch is – it calls for materials you already have in your home, takes two minutes to prepare and ten minutes to finish (minus waiting time for drying). 😉
You will need the following materials: tissue paper (regular facial tissue will do), artblock sheet, poster paints, brushes, PVA glue.

1. In a small dish, mix one part of PVA glue to one part water and stir till evenly mixed in a white watery texture.
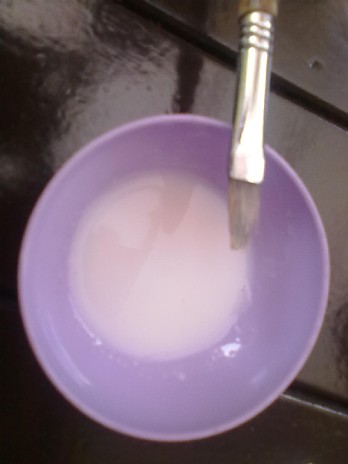
2. Put small dobs of paint of various colours in your palette. Not too much as you want your paints to be fairly watery.
3. Pour a little PVA glue mix into each of the sections. Mix well with the paint colour.

4. Divide your artblock sheet into two halves. Set aside the second half for later.
5. Place a sheet of tissue paper on the first sheet.
6. Here’s the technique – Dip your paintbrush in the colour of your choice, touch it gently to the tissue paper, and let the colour bleed into the tissue. Keep going till you’ve covered the whole tissue paper square with a rainbow of colours.

7. Set aside to dry. Eat lunch. Play a game. Take a nap.

Ready for the second part? You will need a marker, scissors, PVA glue and the second half of your artblock sheet.
8. When your painted tissue paper has dried, notice how it’s now stuck to the artblock sheet, thanks to the PVA glue mix. 😀
9. Using a marker, draw the outline of your own Mister Seahorse.

10. Cut out your seahorse. Also cut out the little fin and spikes, a tiny dark circle for the pupil of the seahorse’s eye, and a slightly larger white circle for the white of the eye.


11. Paste your seahorse onto the second half of your artblock sheet.

As with our recent alphabet wall crafts, DD traces out the word “seahorse”.

Done! 🙂

And God said, “Let the water teem with living creatures, and let birds fly above the earth across the expanse of the sky.” So God created the great creatures of the sea and every living and moving thing with which the water teems, according to their kinds, and every winged bird according to its kind. And God saw that it was good. God blessed them and said, “Be fruitful and increase in number and fill the water in the seas, and let the birds increase on the earth.” And there was evening, and there was morning—the fifth day. ~ Genesis 1: 20- 23
……………………………………….
Oh and if you are interested, click here for our other Eric Carle inspired Alphabet Wall craft piece: C for caterpillar. 🙂
Alphabet Wall: Making…C is for Caterpillar
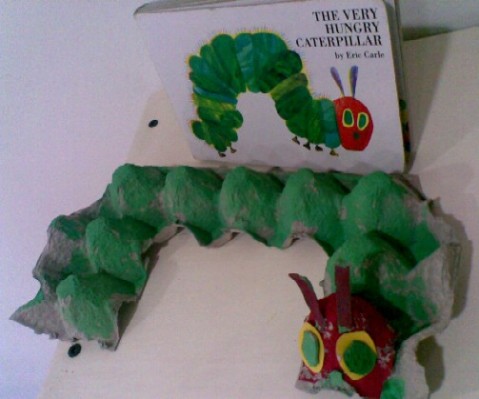
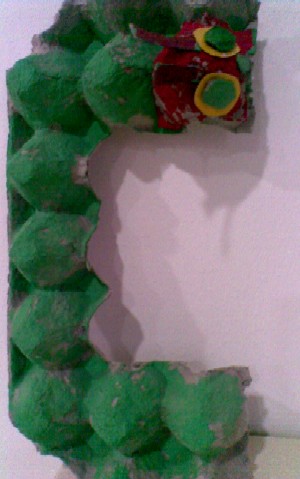
I decided to have a more 3D effect with the next alphabet craft. I modeled this after Eric Carle’s “The Very Hungry Caterpillar” and was quite pleased with the finished product. 😀
You will need: An egg carton, scissors, green and red paints, paintbrushes, yellow paper.
Cut out a C from a cardboard egg carton. I rounded off the edges on the left hand side just a little.
From the excess, cut out one cup for the head of the caterpillar, two long skinny rectangles for the antennae, two ovals for eyes and a smaller oval for a mouth. Cut out two oval shapes from yellow paper, slightly larger than the eyes you have cut out of the egg carton cardboard.
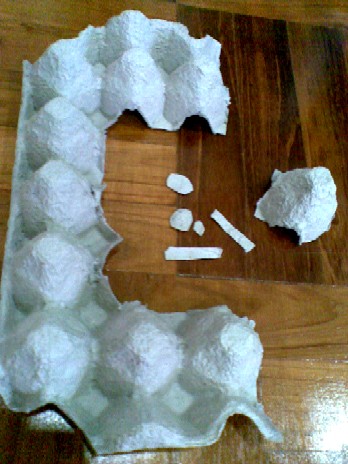
Start by painting the C green. You will need quite a fair bit of green paint to cover the ground.
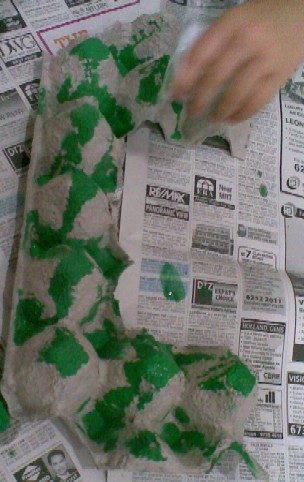
Next, paint the single egg cup red. DD was very thorough with this one, making sure practically all the area was covered, including the inside! As opposed to the green C, where after a while, she got impatient and just dumped the whole pot of paint on, LOL!! 😀
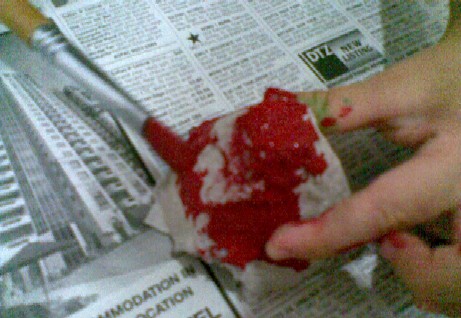
Also cover the antennae, eyes and mouth with paint. For the antennae, I mixed both the green and red paints so it came out a sort of purplish reddish tone. Let it dry.
Once all the various parts are dry [an afternoon nap is handy!], apply some glue on one of the sides of the red head. Stick on the yellow oval shapes. Follow this with some glue on the yellow ovals, and stick on the green eyes.
Next stick on the mouth, and the antennae.
Apply some glue on one end of the C. Stick on the caterpillar head. Have some fun acting out the story before it goes on the alphabet wall!
N.B. – For parents of older children or homeschooling parents, click here for a fantastic website that has some really useful resources for printables and lesson ideas for Phonics, Math and Science!


